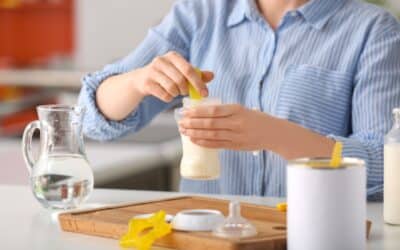
In today’s world, where purity is a luxury and contaminants often lurk in the most unexpected places, the importance of clean, uncontaminated water cannot be understated. Distilled water, with its near absence of impurities, has always been a sought-after resource for various applications, from daily household chores to scientific experiments. While buying distilled water is always an option, did you know that you can produce it in the comfort of your home?
Welcome to our comprehensive guide on “DIY Distilled Water.” Whether you’re a budding scientist, a home gardener, or someone keen on self-sufficiency, we’ll walk you through the straightforward process of making distilled water. Not only is this method cost-effective, but it also ensures you have access to purified water whenever you need it. Let’s embark on this illuminating journey of turning ordinary tap water into its purest form.
Why Consider Making Distilled Water at Home
In an era where the quality of tap water is often questionable, and bottled water prices soar, many individuals are turning to an old solution made new: producing their own distilled water. Why, you may wonder, would someone undertake such a task? Here are compelling reasons to consider.
- Cost-Effective: The cost of bottled water can add up quickly. But by distilling water at home, using everyday materials like a stainless steel pot, glass bowl, and ice cubes, you can produce distilled water at a fraction of the price. With a one-time investment in items like a home distillation kit, if you don’t already have the necessary tools, you can save money in the long run.
- Ensures Purity and Reduces Exposure to Contaminants: The distillation process involves boiling water to produce steam, which is then cooled back into its liquid form. As the water boils, many contaminants, including heavy metals, are left behind. By using an upside-down lid or an inverted lid on a pot, the steam condensation process is directed into a separate container, like a glass bowl. This method ensures that you’re drinking distilled water that’s free from many of the contaminants found in normal tap water. While some critics argue that distilled water lacks potentially beneficial minerals, many people find solace in knowing they’re not ingesting harmful impurities.
- Availability during Emergencies or in Areas with Limited Access: In situations where clean drinking water becomes scarce, having the knowledge to make distilled water can be invaluable. Whether you’re collecting rainwater and want to purify it further or need to make drinking water from a dubious source, knowing how to set up a simple distillation process using items like a stainless steel pot, a glass container, and fresh ice can be a lifesaver. Additionally, for those living in areas where pure water is hard to come by, this method offers an alternative.
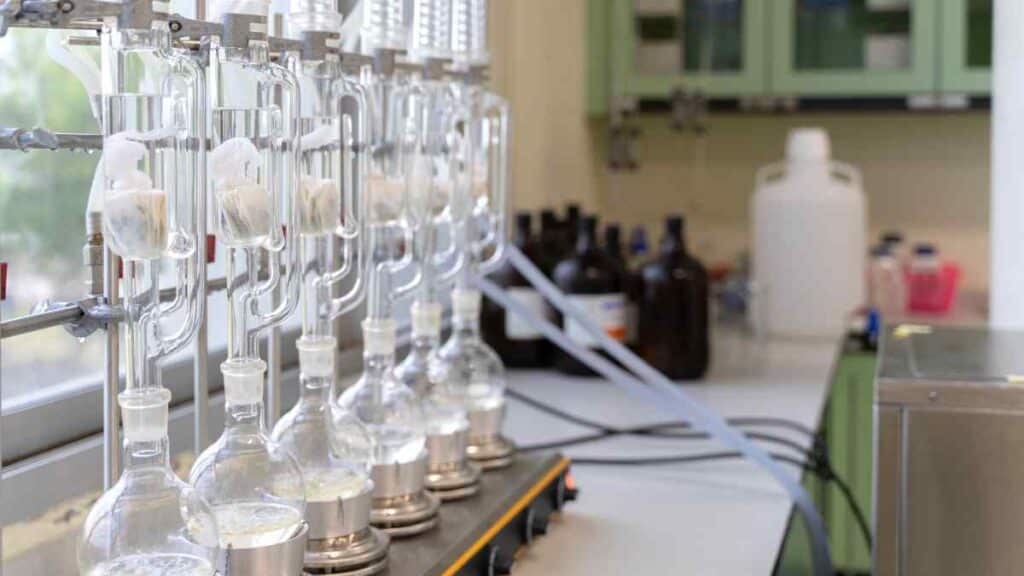
Materials Needed
Embarking on the journey of creating your own distilled water is not only a testament to self-reliance but also a guarantee of purity. Before we dive into the distillation process, we must gather essential materials to produce distilled water at home successfully. Here’s what you’ll need:
1. A Large Pot with a Lid: The foundation of the distillation process, a large pot serves as the primary container where tap water is turned into steam. The pot’s lid plays a crucial role too; when placed pot upside down, it helps direct the water vapor to a collection point. Ensure your pot and pot’s lid are clean and devoid of any residue to keep the distilled water safe and pure.
2. Heat Source: This is where the magic begins. A stove or an electric cooker provides the medium-high heat required to boil water. Whether you use a stovetop burner or a more advanced electric variant, the key is to have consistent and adjustable heat to bring the liquid water to its boiling point.
3. A Glass or Stainless-Steel Bowl: This container, whether a glass bowl or a stainless-steel variant, should float inside the larger pot. It acts as a collection point for the distilled water, ensuring it doesn’t mix with the undistilled water below. The bowl’s placement is vital – it should not touch the base of the larger pot to avoid a higher boiling point or potential damage.
4. Ice: While many might not associate ice cubes with making distilled water, these frozen wonders are essential. Positioned atop the inverted pot’s lid, ice accelerates the condensation process of water vapor, turning it back into liquid form more efficiently. If you don’t have an ice maker, ensure you have ample ice cubes stored or consider buying a bag from a nearby store.
5. Clean Tap Water or Source Water: The starting point for distilled water, this ingredient is crucial. While tap water is readily available in most households, those venturing into homemade distilled water might also consider using naturally distilled water sources, like collect rainwater or spring water, ensuring it’s free from any contaminants or aquatic life. If unsure about the purity, filtered water, possibly from reverse osmosis systems, could be an alternative.
Now, with the materials in place, the adventure of distilling water begins. The process is simple, but attention to detail is paramount. The taste difference between store distilled water and your homemade distilled water might be subtle due to the bland taste common to distilled water. However, drinking distilled water made from your handpicked materials provides peace of mind and a sense of accomplishment.
Remember, while creating distilled water at home may seem rudimentary compared to commercial methods, the essence remains the same: removing impurities to provide clean, safe to drink water. As mentioned earlier, while you can always buy distilled water, crafting your own offers an unmatched satisfaction. Happy distilling!
Step-by-Step Process of Making Distilled Water
Crafting distilled water at home is not only an economical choice but also a foray into understanding one of the purest forms of water. The process, while simple, requires attention to detail to produce clean water that’s safe to drink. Let’s explore the step-by-step journey of making distilled water.
Preparing the Setup
- Fill the Pot with Tap Water: Begin by filling your large or small pot (depending on the quantity you want to distill) with tap water. This serves as the primary source for your steam distillation process. If you have concerns about the quality of your tap water, using filtered water is also an option.
- Positioning the Bowl: Take your glass container or bowl and place it inside the pot. It’s vital to ensure that the bowl floats and doesn’t touch the pot’s bottom. This separation is crucial to ensure that the bowl collects only distilled water and not any from the boiling pot below.
Boiling and Collecting Steam
- Heating the Water: Turn on your heat source, whether it’s a traditional stove or an electric cooker. Gradually bring the water to a boil. As the water transforms into boiling water, you’re setting the stage for steam production.
- Adjusting the Pot Lid: For effective steam collection, position the pot lid upside down. The handle or knob should point downwards, directing the steam towards the floating bowl inside.
Condensation
- Cooling with Ice: Place ice on the inverted pot lid. This helps in cooling down the steam quickly. The contrast between the hot steam and the cold lid facilitates rapid condensation.
- Collecting Distilled Water: As steam rises, it meets the cold surface of the inverted lid. The temperature difference causes the steam to condense into water droplets, which then drip into the floating bowl. This is the essence of steam distillation.
Completion and Storage
- Achieving the Desired Quantity: Continue the boiling and condensation process until you gather your desired amount of distilled water. For those new to this, the distilled water taste might be notably purer and neutral compared to regular drinking water.
- Securing the Produce: After turning off the heat, use oven mitts or other protective gear to handle hot cookware. Carefully remove the bowl from the pot. Once cooled, transfer the distilled water into a clean container. Ensure you store distilled water away from direct sunlight and contaminants. For prolonged freshness, it’s best to consume the water immediately or within a few days, especially if used for drinking.
Safety Tips and Precautions
Safety Tips and Precautions
The process of making distilled water at home, while straightforward, does require a certain level of care and attention. As with any procedure involving heat and boiling liquids, it’s crucial to prioritize safety. Here are some essential safety tips and precautions to keep in mind:
1. Always Supervise the Distillation Process: Never leave your boiling setup unattended. This is not just to ensure you properly distill water but also to prevent potential accidents like boiling dry or overflowing. Remember, when you’re aiming to drink distilled water, the quality and safety of the process matter as much as the final product.
2. Use Heat-Resistant Gloves: Handling hot cookware can be risky. Invest in a good pair of heat-resistant gloves or oven mitts. This is especially important when adjusting items like the baking rack, handling smaller pots, or even removing the coffee filter if you’re using one to further purify the water. These gloves not only protect against burns but also provide a better grip, reducing the risk of spills.
3. Ensure a Steady and Safe Heat Source: The essence of making distilled water revolves around boiling and condensation. Ensure your stove or electric cooker is in good working condition and provides steady heat. If you’re using a stovetop, ensure it’s free from any flammable items. For those venturing into home distillation kits, follow the manufacturer’s instructions diligently. A consistent and safe heat source not only ensures efficient distillation but also prevents potential hazards.
4. Be Cautious with DIY Setups: While using items like duct tape or a baking rack can enhance the distillation process, ensure they’re safely secured and don’t pose a risk of melting or releasing toxins. The goal is to make distilled water that’s free from other contaminants, so every component in the setup should be food-safe.
5. Know Your Equipment: Whether you’re using smaller pots, larger vessels, or specialized home distillation kits, familiarity with your equipment ensures a smooth process. Regularly inspect for any damages, wear, or tear, especially if you make distilled water frequently.
6. Mind the Environment: Place your distillation setup away from areas with high foot traffic, especially if you have kids or pets. The boiling water can cause severe burns if accidentally spilled. Moreover, ensure the area is well-ventilated to allow for the escape of steam.
7. Use Distilled Water Appropriately: While distilled water is excellent for drinking and filling humidifiers, remember that distillation removes many minerals. If you’re using it to water plants, occasionally alternate with regular water to provide essential minerals to the plants.

Conclusion
Embarking on the DIY journey of producing distilled water is an enlightening experience, teaching us not just the science of distillation, but also the value of self-reliance. In a world increasingly dependent on commercial products and services, the ability to craft something as fundamental as pure water in our own homes stands as a testament to self-sufficiency. As we’ve discovered, making distilled water doesn’t require elaborate equipment or intricate skills but a careful amalgamation of basic materials and attention to detail.
Beyond its economical benefits, DIY distilled water ensures a level of purity that aligns with our personal standards and the comfort of knowing exactly where our drinking water comes from. It serves as a reminder of our ability to harness nature’s principles to our advantage, turning a simple act of boiling water into a method to obtain one of the purest forms of hydration.
Whether you’re considering distilled water for its taste, purity, or out of necessity, the knowledge you’ve gained through “DIY Distilled Water: How to Make Distilled Water at Home” equips you with the means to achieve it. As you pour yourself a glass of your homemade distilled water, savor not just its clean, crisp taste but also the accomplishment of having crafted it with your own hands. Cheers to empowerment, health, and the clarity that both distilled water and knowledge bring!
Did this article help you? Please tell us in the comments. If you have any questions, feel free to ask.

